How to Restore Your Right-Click Options in Windows 11 (Windows Context Menu)
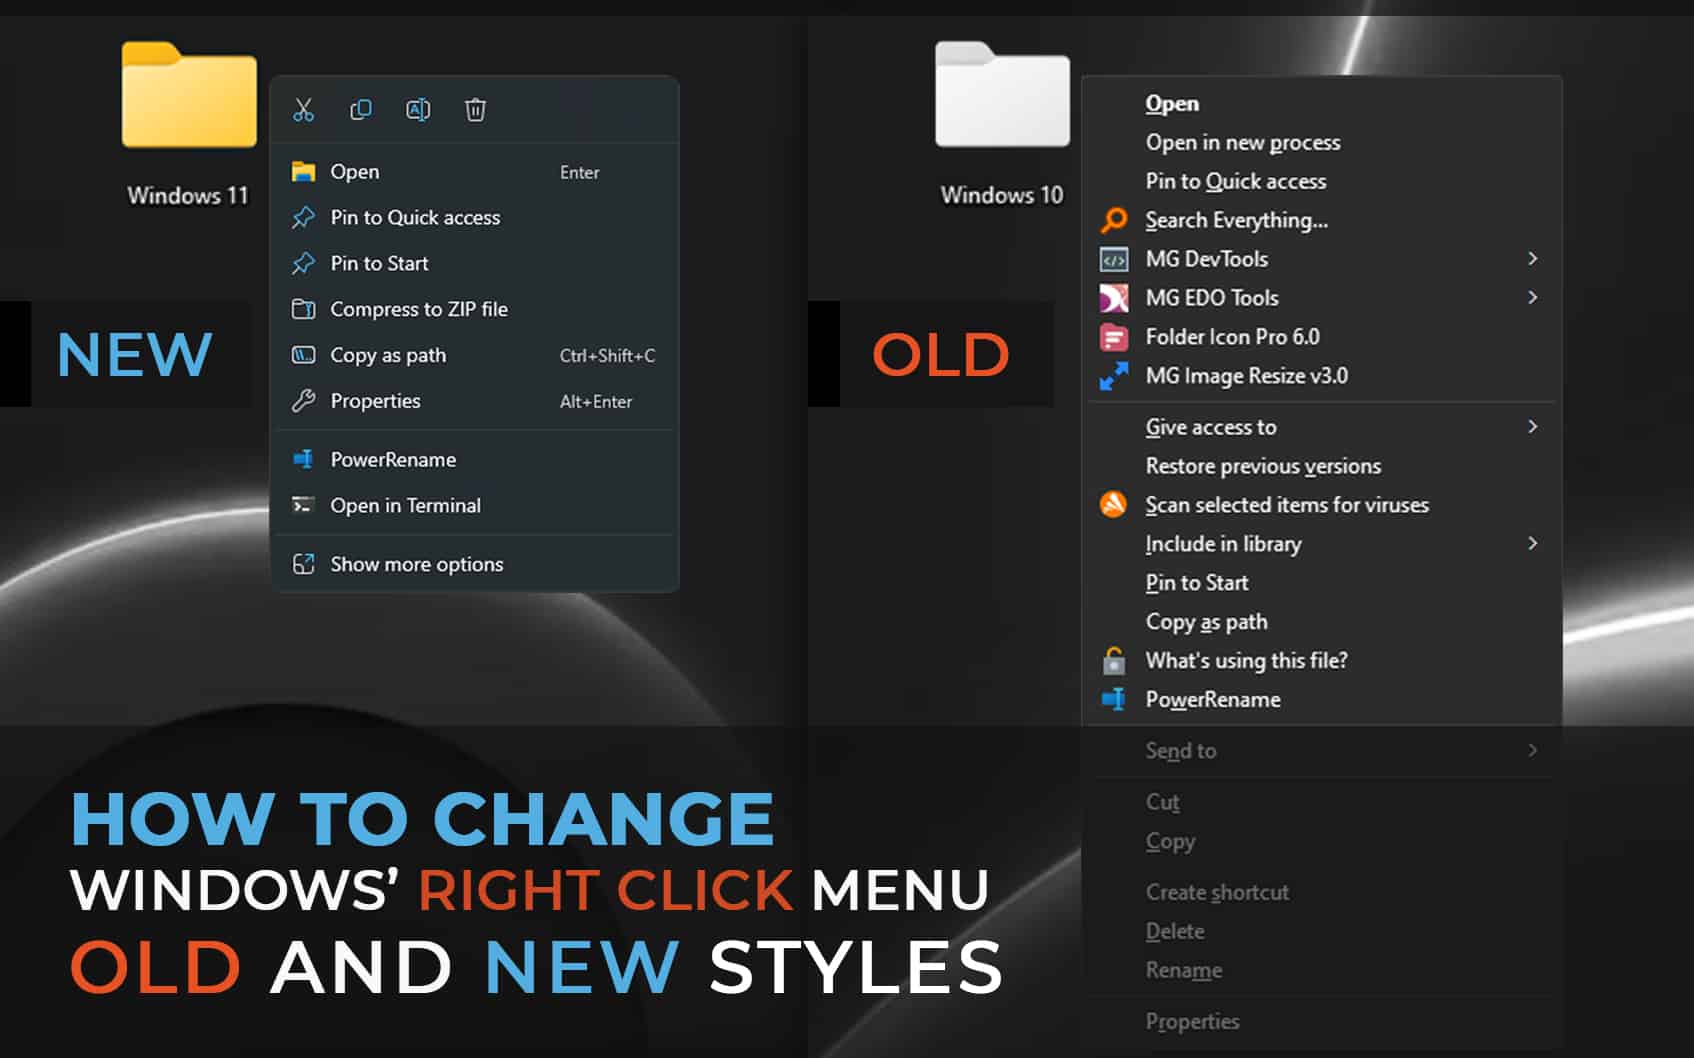
With the introduction of Windows 11, the right-click menu in Windows underwent a complete redesign. Many of the previously visible options were reorganized, moving them one layer deeper into the menu. Now, to access these options, you can either click on “Show more options” or use the “Shift+F10” hotkey.
It’s a well-known fact that the old menu had become quite lengthy and cluttered over time, as nearly every app seemed to add an option or access point to it. Nevertheless, there were still certain items that most users frequently relied on, such as “Send to,” as well as the options provided by various third-party applications we had installed.
To restore the MS Windows old context menu, you can use one of the following methods:
Method 1: Directly editing the MS Windows Registry
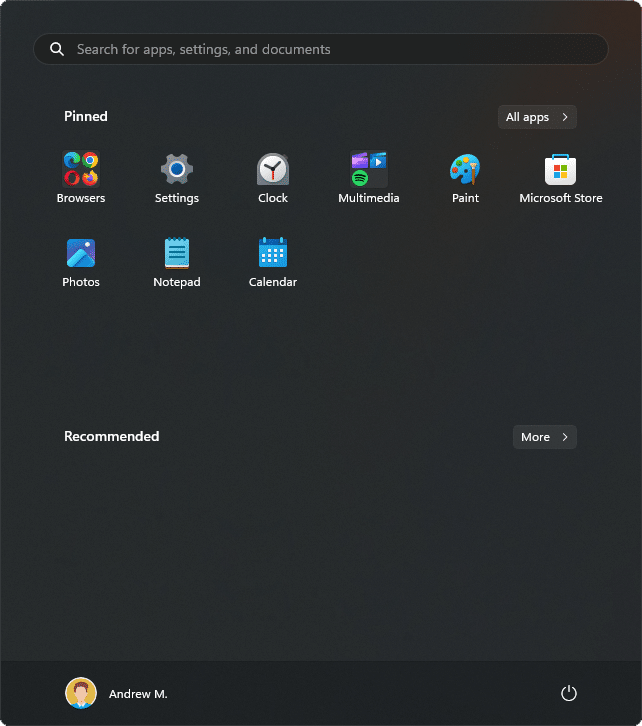
Step 1: Open the Start Menu
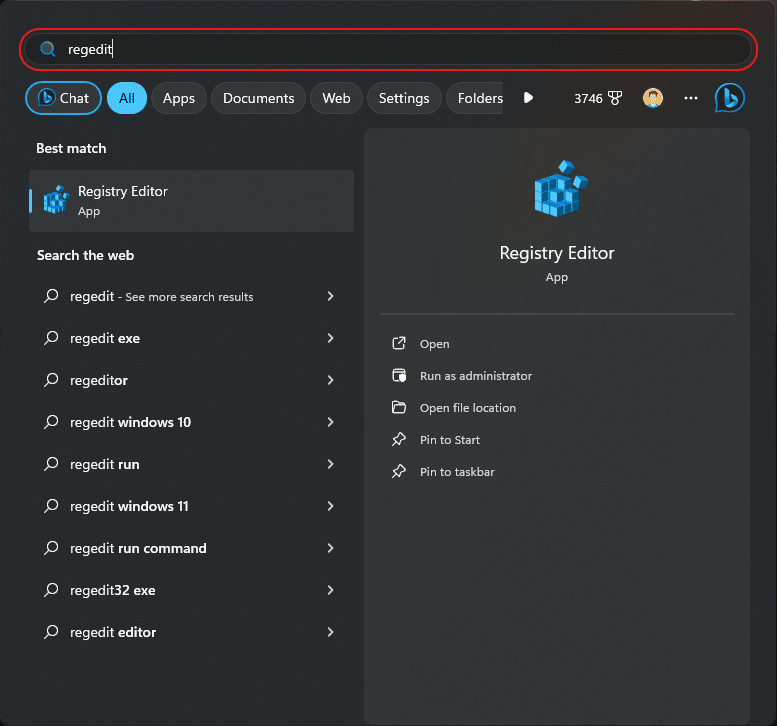
Step 2: Type “regedit” in the search field
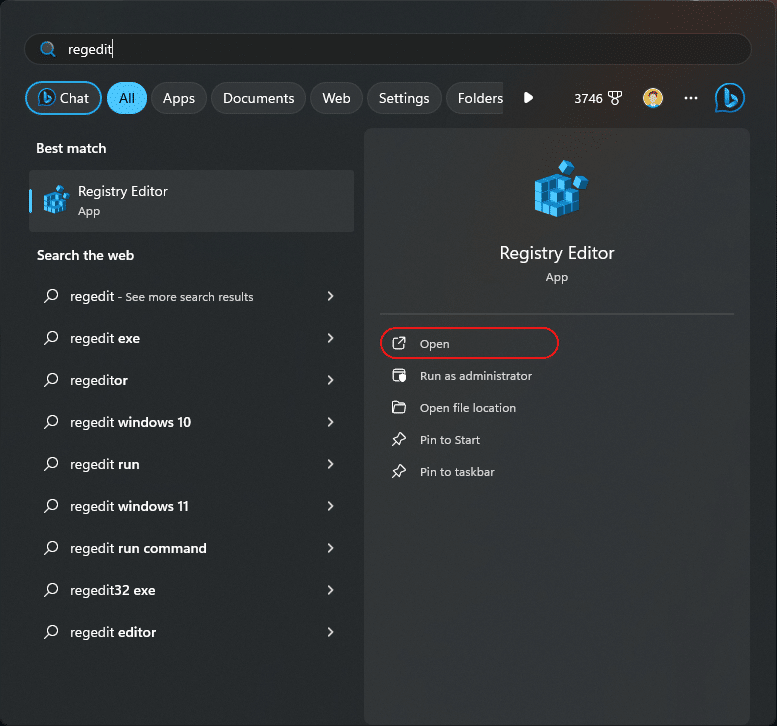
Step 3: Click “Open” to open the “Windows Registry”
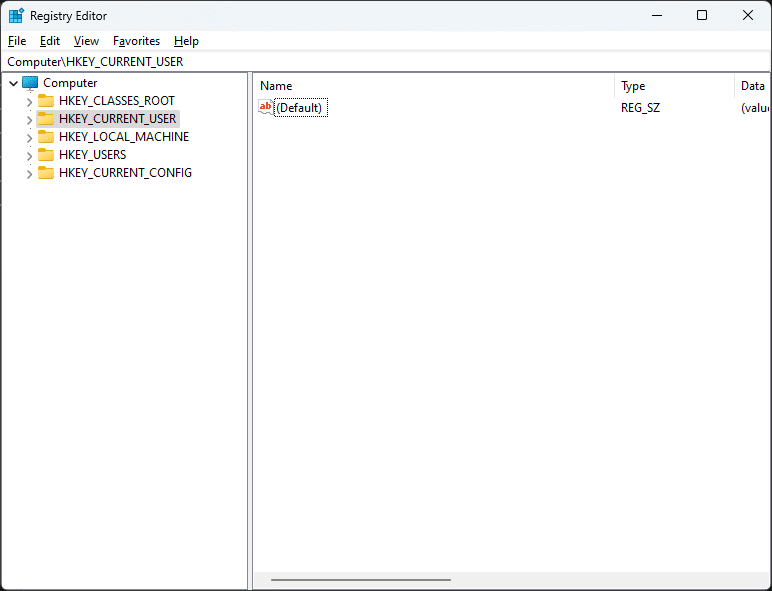
Step 4: Go to the following registry key:
- HKEY_CURRENT_USER
- Software
- Classes
- CLISD
Step 5: Right-click on the “CLSID” key
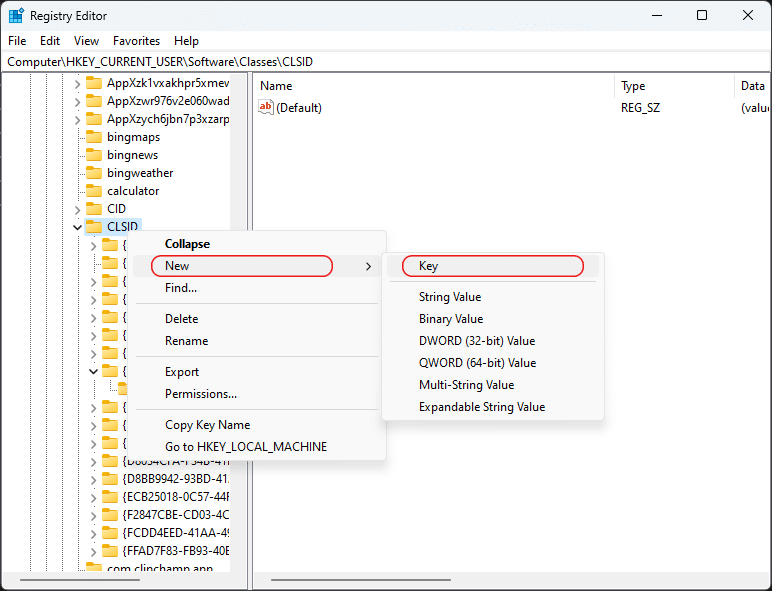
And then select “Key” from the “New” menu
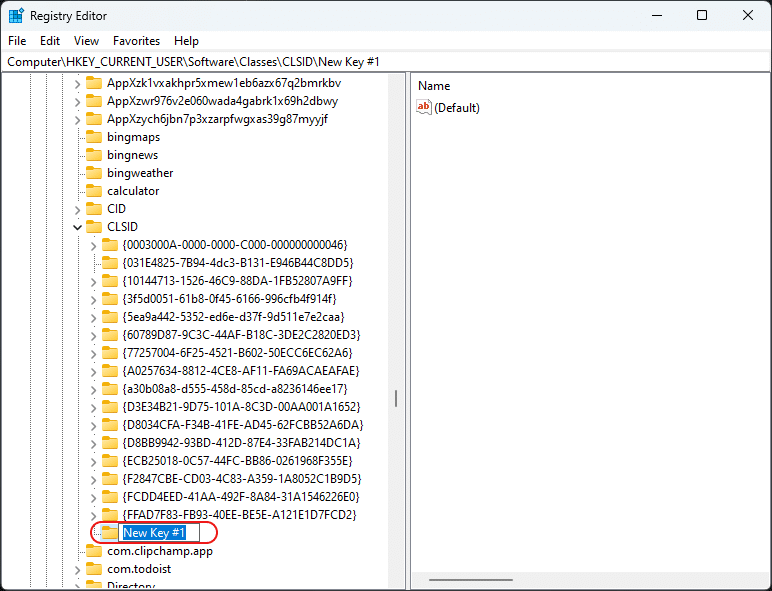
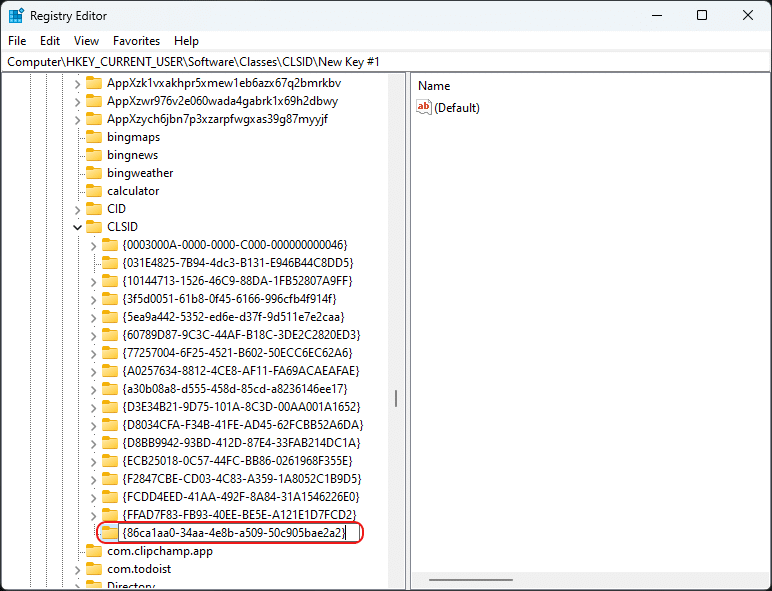
Step 6: Name the new key “{86ca1aa0-34aa-4e8b-a509-50c905bae2a2}”
Step 7: Right-click on the “{86ca1aa0-34aa-4e8b-a509-50c905bae2a2}” key and then select “Key” from the “New” menu and name it "InprocServer32”

Step 8: Go to the “InprocServer32” key, then open the “(Default)”.
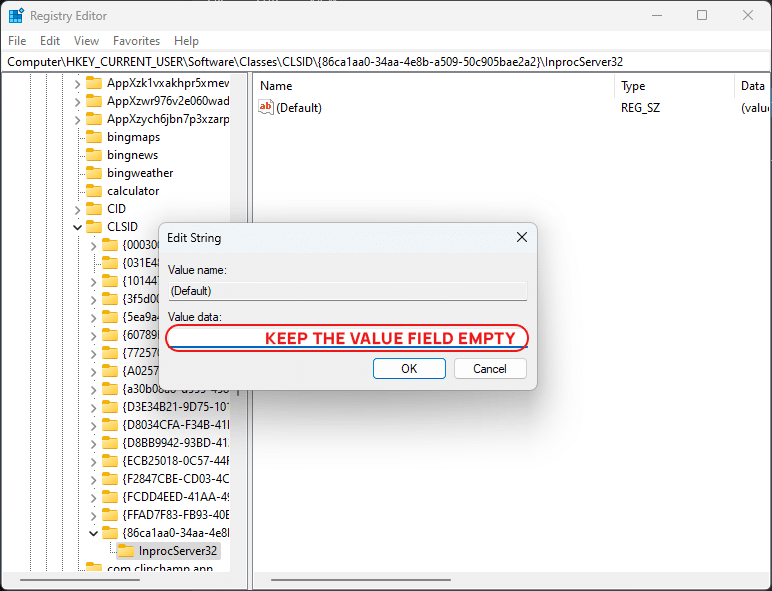
Without changing any value, click “OK”
Step 9: To see the changes Reboot your PC or right-click the start menu and choose “Task Manager”

Step 10: Search for “Explorer”
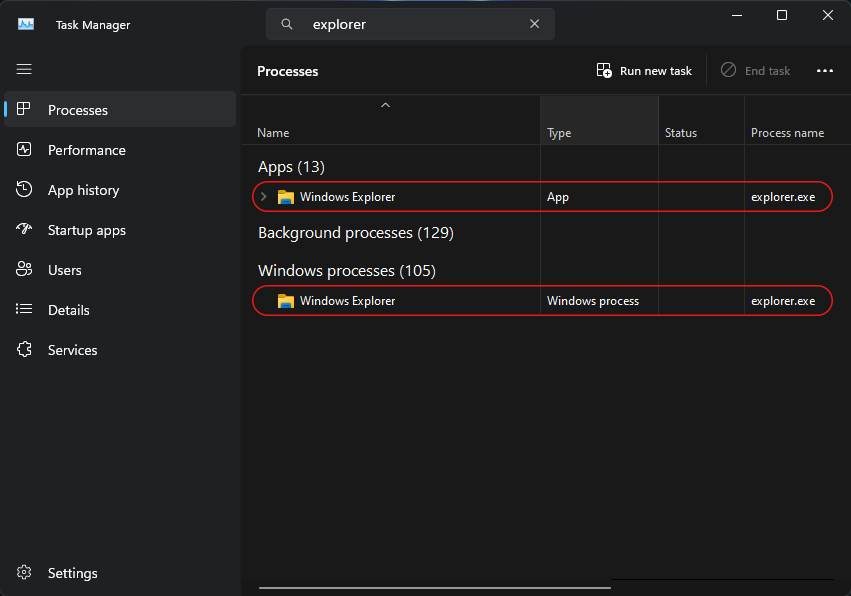
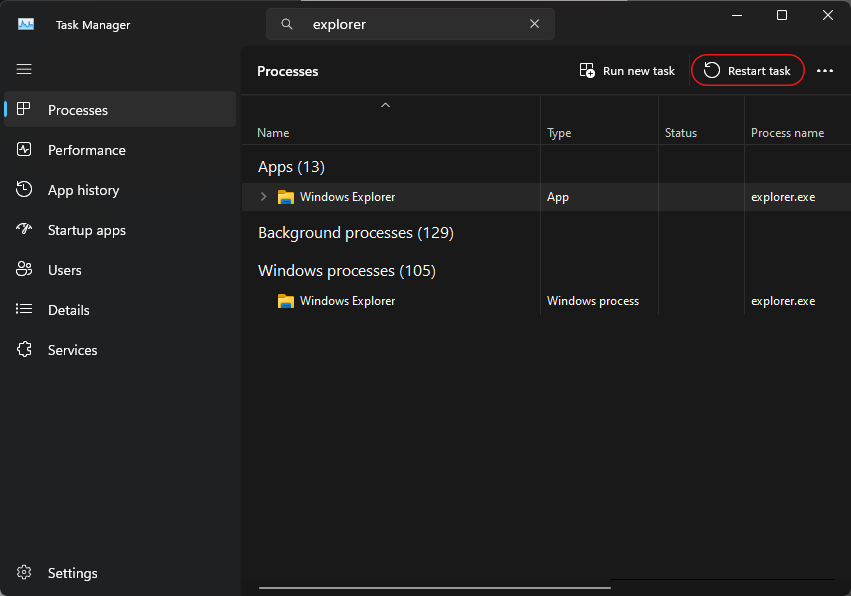
Step 11: Select any “Windows Explorer” from the list and then click “Restart task”
The old Windows menu is now enabled.
Note: To restore the default Windows 11 context menu, delete the created keys and then repeat steps 10, 11, and 12.
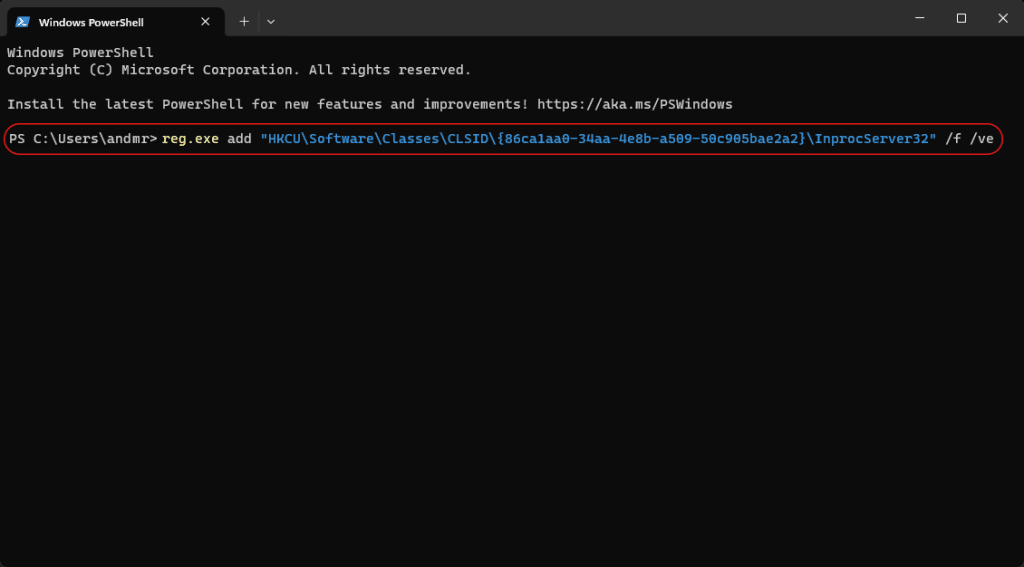
Method 2: Using MS Windows Terminal
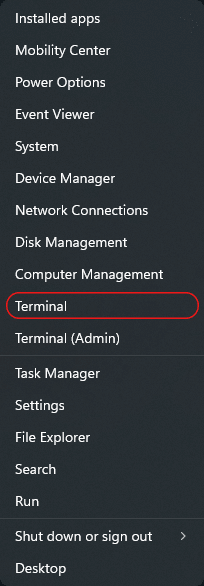
Step 1: Right Click the start menu and choose “Terminal”
Step 2: Copy and paste the following code into the window.
reg.exe add "HKCU\Software\Classes\CLSID\{86ca1aa0-34aa-4e8b-a509-50c905bae2a2}\InprocServer32" /f /ve
Step 3: To see the changes Reboot your PC or right-click the start menu and choose “Task Manager”
Step 4: Search for “Explorer”
Step 5: Select any of the “Windows Explorer” items from the list and then click “Restart task”
Note: To restore the Default Windows 11 context menu, follow the same instruction, but this time copy and paste the following code in Windows Terminal
reg.exe delete "HKCU\Software\Classes\CLSID\{86ca1aa0-34aa-4e8b-a509-50c905bae2a2}" /f
and then repeat steps 3, 4, and 5.
Method 3: Using MG Windows Context Menu Control
The easiest way is to use the “MG Windows 11 Context Menu Control”
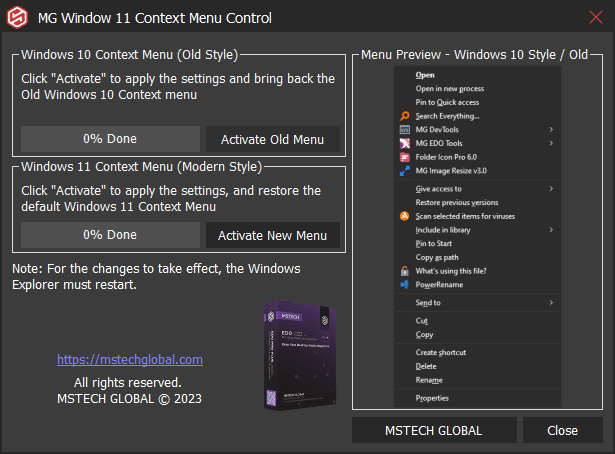
To activate Windows 10 Context Menu style, click “Activate Old Menu”, and to activate the default Windows 11 Context Menu click “Activate New Menu”

MG Easy Desktop Organizer Pro
MG Easy Desktop Organizer is a tool designed to help you create quick access to files, folders, and apps while maintaining a clean desktop at the same time.